CUSTOM HEADWEAR / BUYER GUIDE
Five-Panel vs Six-Panel Caps: Verify Seams and Logo Space
Five-panel and six-panel labels name a crown layout, but photos can hide seams. Use real cap views to check front logo space and prepare a clearer sample brief.
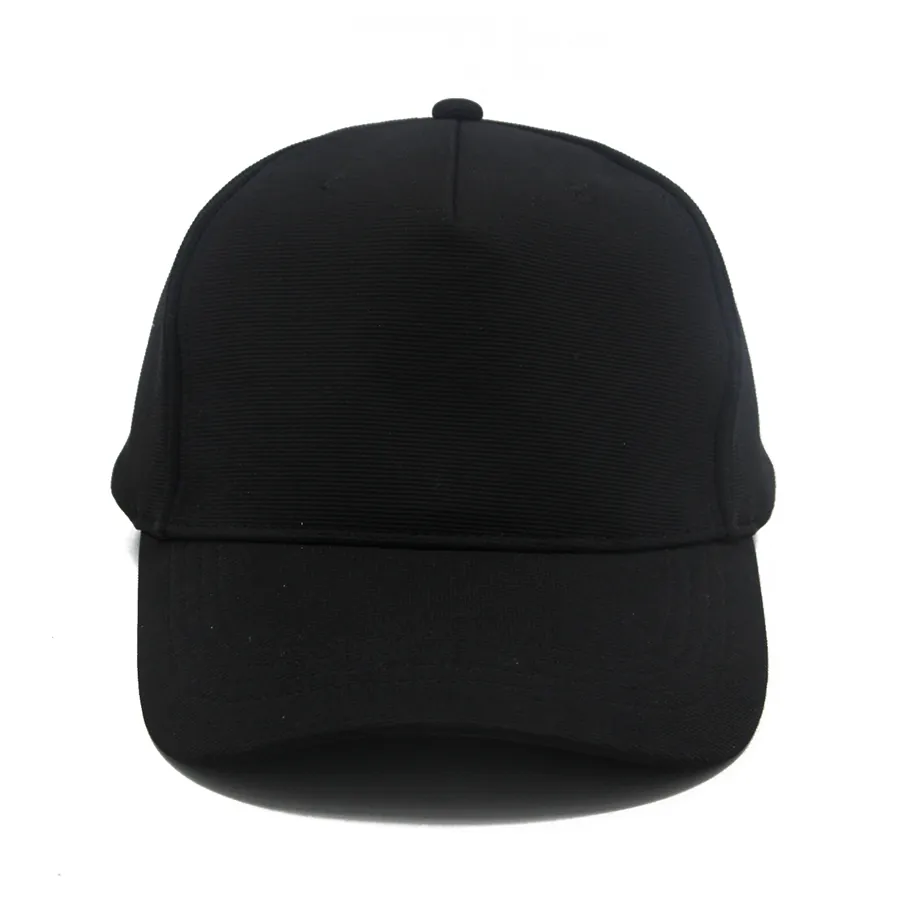
Five-panel and six-panel describe the number of pieces forming a cap’s crown: five or six. That is a useful starting point, but it is not a complete design instruction. Ask how those pieces meet at the front, then agree where the decoration will sit before approving a sample. A front photograph can reveal a seam crossing the artwork area, while a top, back or inside view is needed to confirm the full layout.
The two caps below are separate photographic references. The plain black cap shows a largely uninterrupted front area; the light-blue cap shows a center seam running through a floral decoration. They illustrate a buyer’s questions about placement. The photos alone do not prove the total number of panels, the fabric specification or how a new logo would stitch on either cap.
Treat panel count and front layout as separate details
The panel count does not, by itself, specify the crown height, brim curve, closure or the exact width of a usable logo area. Even where a supplier calls two styles by the same panel count, their front seams and crown proportions may differ.
| Proposed layout | Verify the count | Check before artwork approval |
|---|---|---|
| Five-panel crown | Ask the supplier to identify all five crown pieces on a pattern diagram or the physical sample | Whether the front area has a join crossing the intended design |
| Six-panel crown | Ask the supplier to identify all six pieces on the same kind of evidence | Where the front join runs and how the intended design will sit over or beside it |
Neither label makes one construction universally better for logos. These checks establish the actual layout; a front photo alone is only a clue.
Start with the baseball and dad cap shape options, then annotate the reference you actually want. Mark the front center line, the vertical seams, the crown-to-brim join and any seam that should stay clear of artwork. If a seam is hidden by a photograph’s angle, ask for another view rather than assigning a panel count from the image.
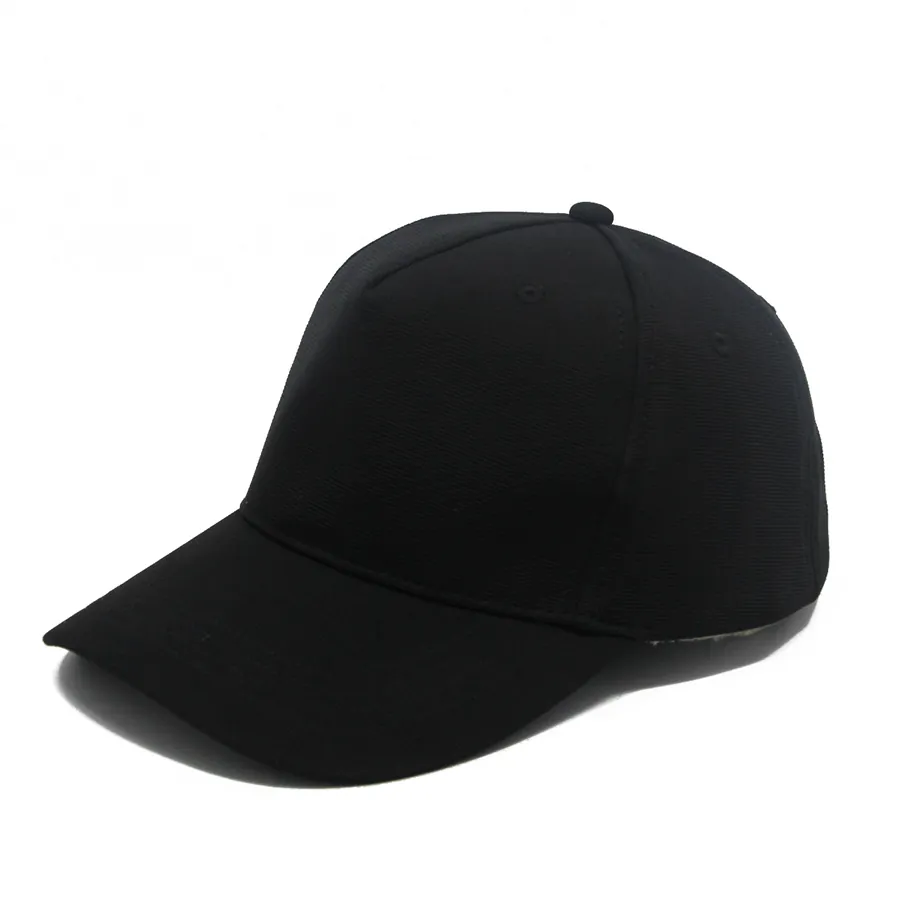
Compare the front area before placing a logo
The black cap’s front view has no obvious vertical seam across most of its main display area. That may be a useful direction for a broad front graphic, but it is not a promise that every artwork or decoration method will suit it. The crown curves away from a flat design file, and the finished logo still needs an agreed size and position.
The light-blue reference has a visible center seam passing through the embroidered flower. This shows that a decorated front can include a seam; it does not show how your artwork will reproduce there. Ask for a placement proof and a physical sample using your own artwork and chosen decoration method. Check small lettering, outlines and the area immediately beside a raised seam on that sample.
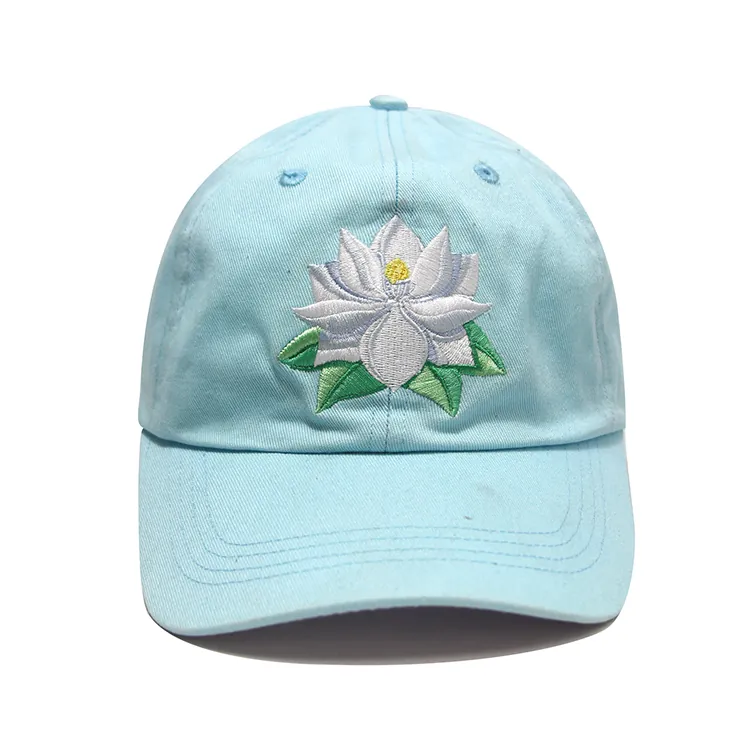
If the logo should avoid a seam, say so in the brief. Specify its intended width and height, and identify the points used to measure its position from the brim and center line. The customization options can help you discuss embroidery, print, labels and patches, but the choice of technique and final dimensions need to be reviewed against the actual cap and artwork.
Follow the seams around the crown
A straight-on image can conceal where side and rear pieces meet. Request front, side, back, top and inside views of the same sample revision. Trace each seam from the top of the crown toward the lower edge and compare both sides. Eyelets and a top button are useful orientation points, but they are not additional panels.
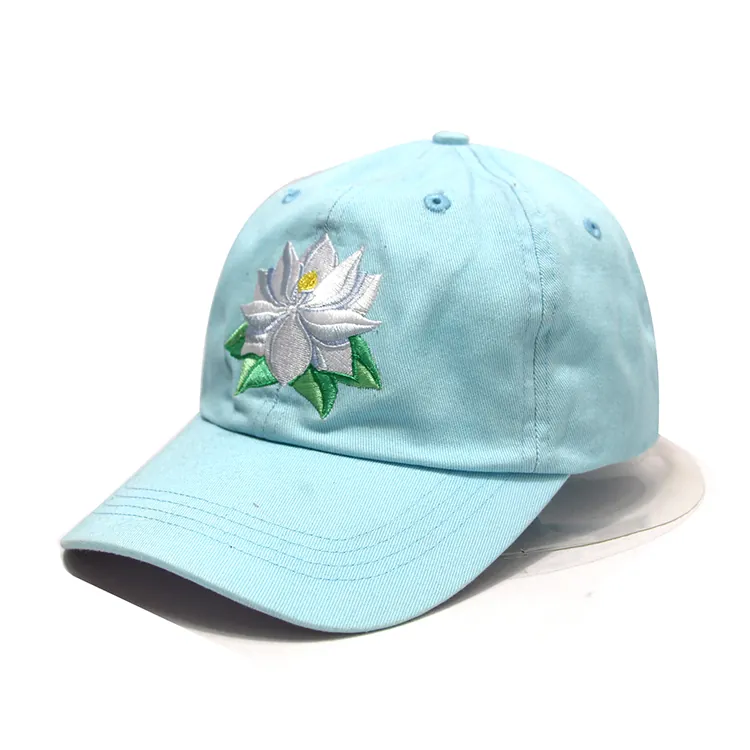
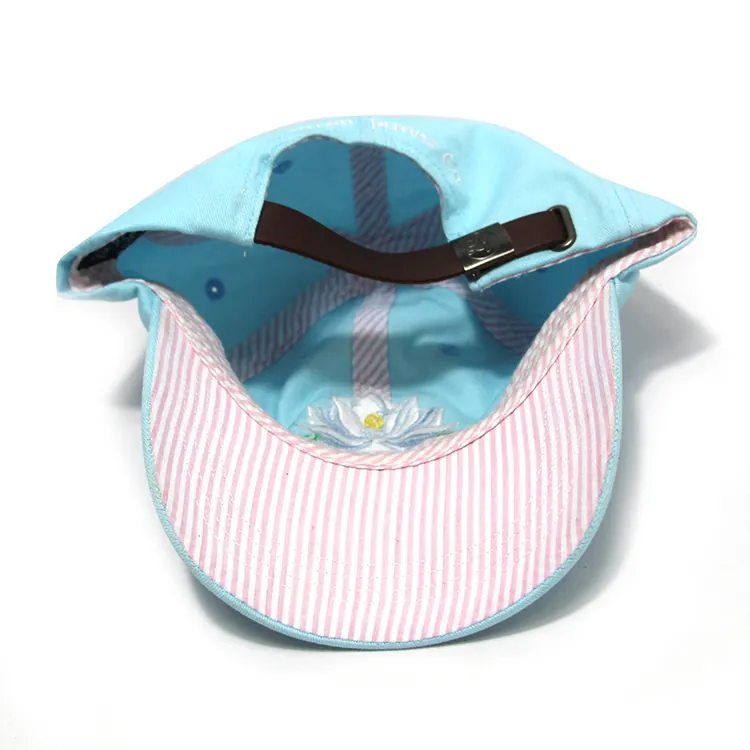
If the complete layout is still unclear, ask for a simple panel diagram or the physical sample. An inside view may make seam lines easier to follow, although seam covering can obscure them. Record the confirmed layout in the sample specification instead of relying on a style name or the folder in which a reference photo was stored.
Keep shape, brim and closure on their own lines
Panel layout can change the appearance of the crown, but the panel count alone does not establish fit. Compare the front height and side profile on the agreed wearer or head form, then measure the physical sample using stated reference points. Keep the brim direction and rear closure separate from the panel request. The curved-versus-flat brim guide explains how to specify those features without treating “snapback” as a brim type.
The website’s 3D Design Studio is useful for an early color and logo-position concept. Include the preview with your brief, but use marked photographs, dimensions and a physical sample to approve seam placement and finished decoration.
Turn the comparison into a sample brief
| Decision | State in the brief | Confirm on the sample |
|---|---|---|
| Crown layout | Requested panel count plus marked front, side and top seam references | Actual piece layout from the same sample revision |
| Front decoration | Artwork version, method, intended size, position and whether a seam may cross it | Finished detail and clearance around seams |
| Crown shape | Front height and side silhouette references | Fit and shape under agreed review conditions |
| Brim and closure | Brim direction and rear fastening as separate choices | Profile, adjustment and measurements |
A concise request could say: “We prefer the uninterrupted-looking front area in reference A, but want to review the crown profile separately. Please confirm the complete panel layout with front, side, top and inside views. Our logo should not cross a front seam; artwork, intended dimensions, quantity and destination are attached.” Replace those choices with your real project requirements.
When the first piece is ready, use the five-view cap sample checklist to review the front, side, rear and inside together. Send your reference images or original design to Rongtai, including what each reference controls and which decisions are still open. Alex can help clarify the sample questions and commercial details for your order.