CUSTOM HEADWEAR / BUYER GUIDE
Custom Hat Logo Samples: Check Embroidery, Print and Patches
Compare what to request and inspect in custom hat logo samples for embroidery, printed graphics and patches. Build a brief before approving a physical sample.
A screen mockup can show where a logo might sit. It cannot tell a buyer whether the finished detail, graphic edge or applied badge will look right on the chosen hat. Ask for a physical sample against one clearly named artwork version and hat reference. Then review the result by method, instead of approving “the logo” as a single vague item.
Rongtai discusses embroidery, printing, woven labels and patches for custom hats. The photographs in this guide show three different supplied reference hats, not the same design remade by three processes. They provide visual context only: a photograph cannot establish the process behind the deer graphic or how the square badge was attached. They are not a controlled comparison or a customer endorsement.
Hold the reference constant before comparing methods
For each option, start from the same original artwork version, target hat shape, intended logo area and proposed finished size. Mark the front and any seams that the artwork should avoid or cross. Record the requested color references and what you need the first physical sample to decide. If an option needs simplified or adapted artwork, name that revision separately. If the hat base changes too, note that as another revision so a different crown is not mistaken for a different decoration result.
The logo and OEM customization overview explains the available routes. The artwork preparation guide helps collect files, while the 3D Design Studio can communicate an early position and color concept. Neither a file nor a 3D preview approves the finished decoration. For a cap with a front seam, the panel and logo-space guide shows why the actual crown layout belongs in the brief.
| Option to sample | State in the request | Inspect on the physical hat |
|---|---|---|
| Embroidery | Artwork version, intended size, thread-color reference and whether stitching may cross a seam | Whether the small lines, edges and placement remain clear at that size |
| Printed graphic | Artwork version, proposed process to confirm, intended size and hat surface | Actual graphic edges, coverage, color appearance and position |
| Patch or label | Shape, proposed material and edge finish, intended position and attachment method to confirm | Border, alignment, attachment and the inside or reverse where relevant |
Embroidery: inspect line detail at the proposed size
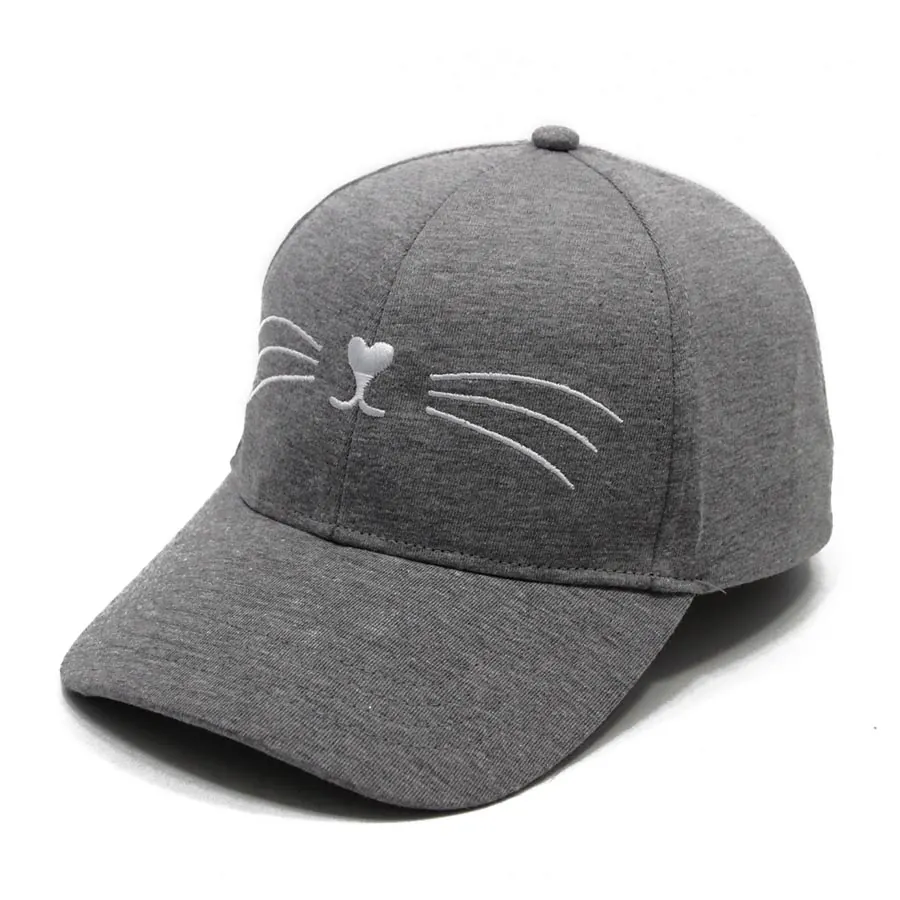
The white cat-whisker motif on this gray cap has visible raised stitches. Its central detail meets the front seam. That makes it a useful reminder to check the artwork on the actual crown, rather than judge an isolated digital logo.
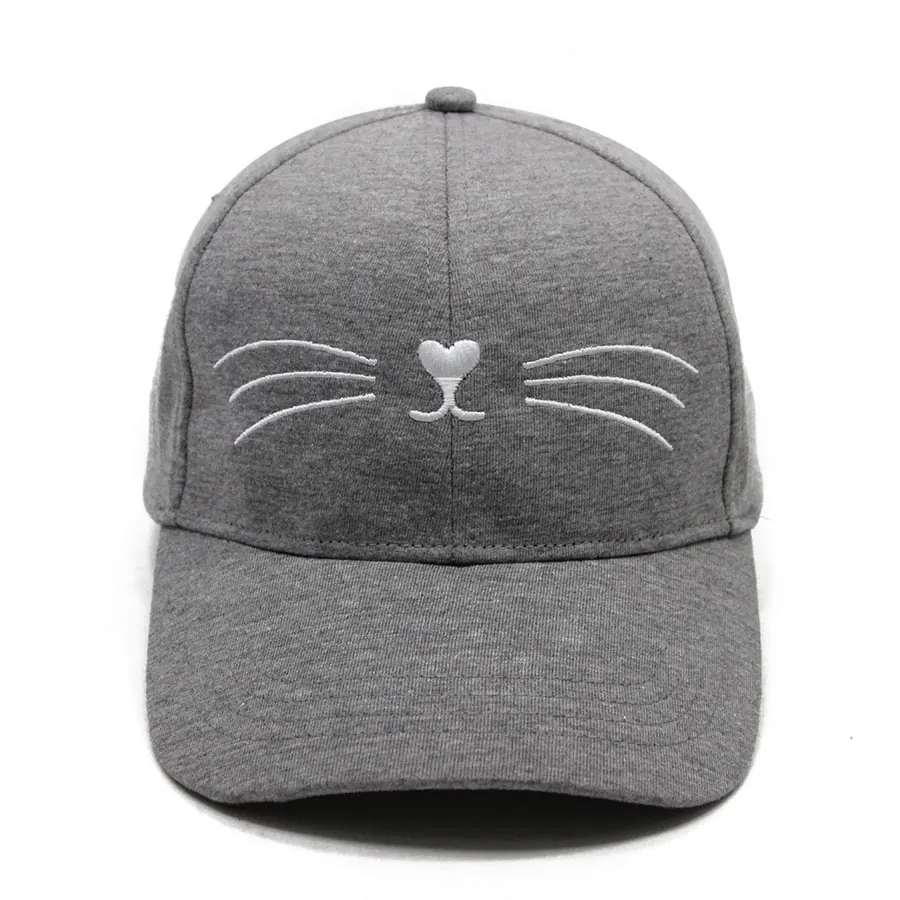
Ask which fine lines or small lettering are essential to recognize, whether the chosen sample size keeps them distinct, and how the design meets any seam. Mark any part that must move or simplify. A photograph does not reveal the full stitch specification or guarantee how another design will reproduce.
Printed graphic: confirm the process and finished edge
The yellow mesh-backed cap below carries a dark deer graphic on its solid front. The side angle helps a buyer see where the graphic approaches the panel join. It does not identify the exact printing process, ink or transfer, and the image alone cannot establish how the graphic feels or wears.
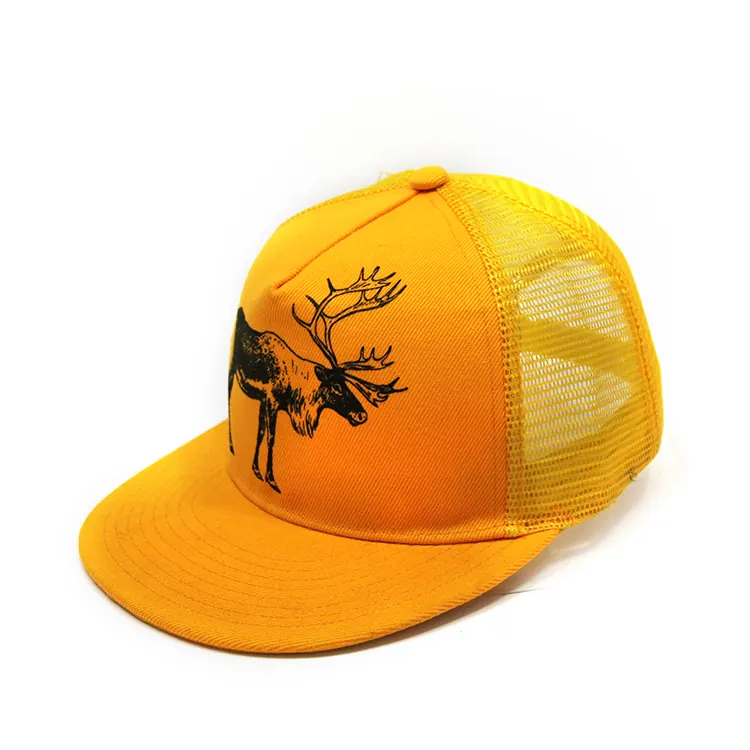
If printing is proposed, ask the supplier to name the process for your chosen hat and artwork. On the sample, check whether narrow features and filled areas match the approved design, whether edges are clean at the agreed size, and whether the graphic sits clear of seams and panel changes. Treat color and surface feel as physical-sample decisions, not conclusions drawn from a screen.
Patch or label: define the border and attachment
This black cap has a square white badge on the front. Its visible border gives a reference for checking alignment and clearance from the curved crown and patterned brim. The photograph does not establish the badge material, backing or exact attachment method.
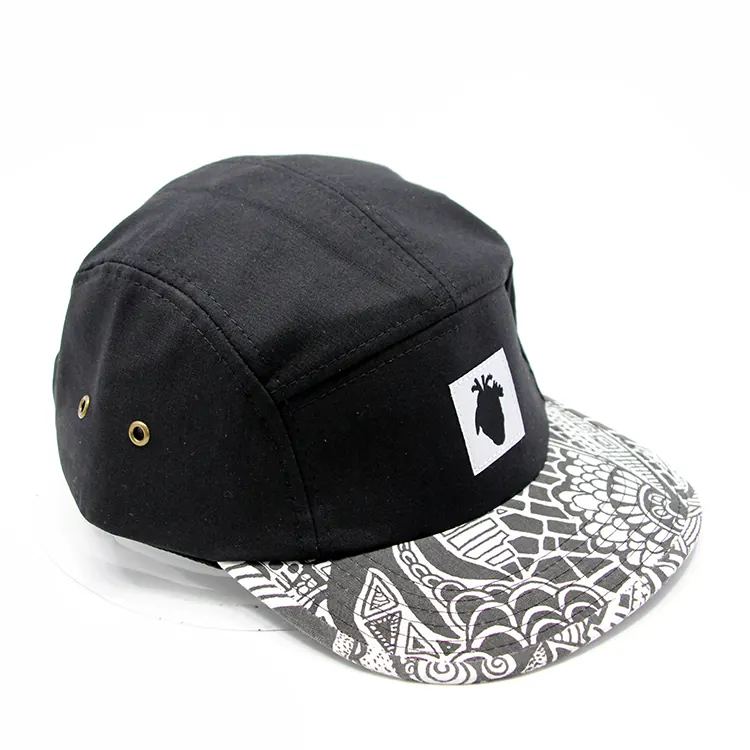
For a patch or woven label option, send the desired outline, orientation, edge appearance and intended location. Ask how it will be attached and whether any stitching or backing is visible inside. Check that the actual sample sits straight on the curved surface and that the logo remains legible at the finished size. Do not assume every patch is leather or every label uses the same fold.
Approve the sample, then record the open decisions
Ask for front, side and close-up views of the same sample revision, but keep the physical piece as the approval reference for detail, attachment and feel. Record each result as approved, change requested or still open. If comparing methods, request like-for-like samples on the same hat base when practical; otherwise label the differences in hat construction.
A concise request might say: “Attached is artwork version B and our chosen cap reference. Please confirm the proposed decoration method for each option, show the finished size and position on the physical sample, and provide close views of edges and seam clearance. We will review embroidery detail, graphic edges or patch attachment separately before choosing a route.” Replace those choices with the decisions for your order.
Send Rongtai your artwork or existing design with the hat style, estimated quantity and destination. Alex can help identify which details need a physical sample before commercial terms are agreed.