CUSTOM HEADWEAR / BUYER GUIDE
Beanie Cuff Depth and Fold: Approving a Physical Sample
Review beanie cuff depth and fold on a physical sample. Agree reference edges, measuring state and matching views, then record changes in a clear buyer brief.
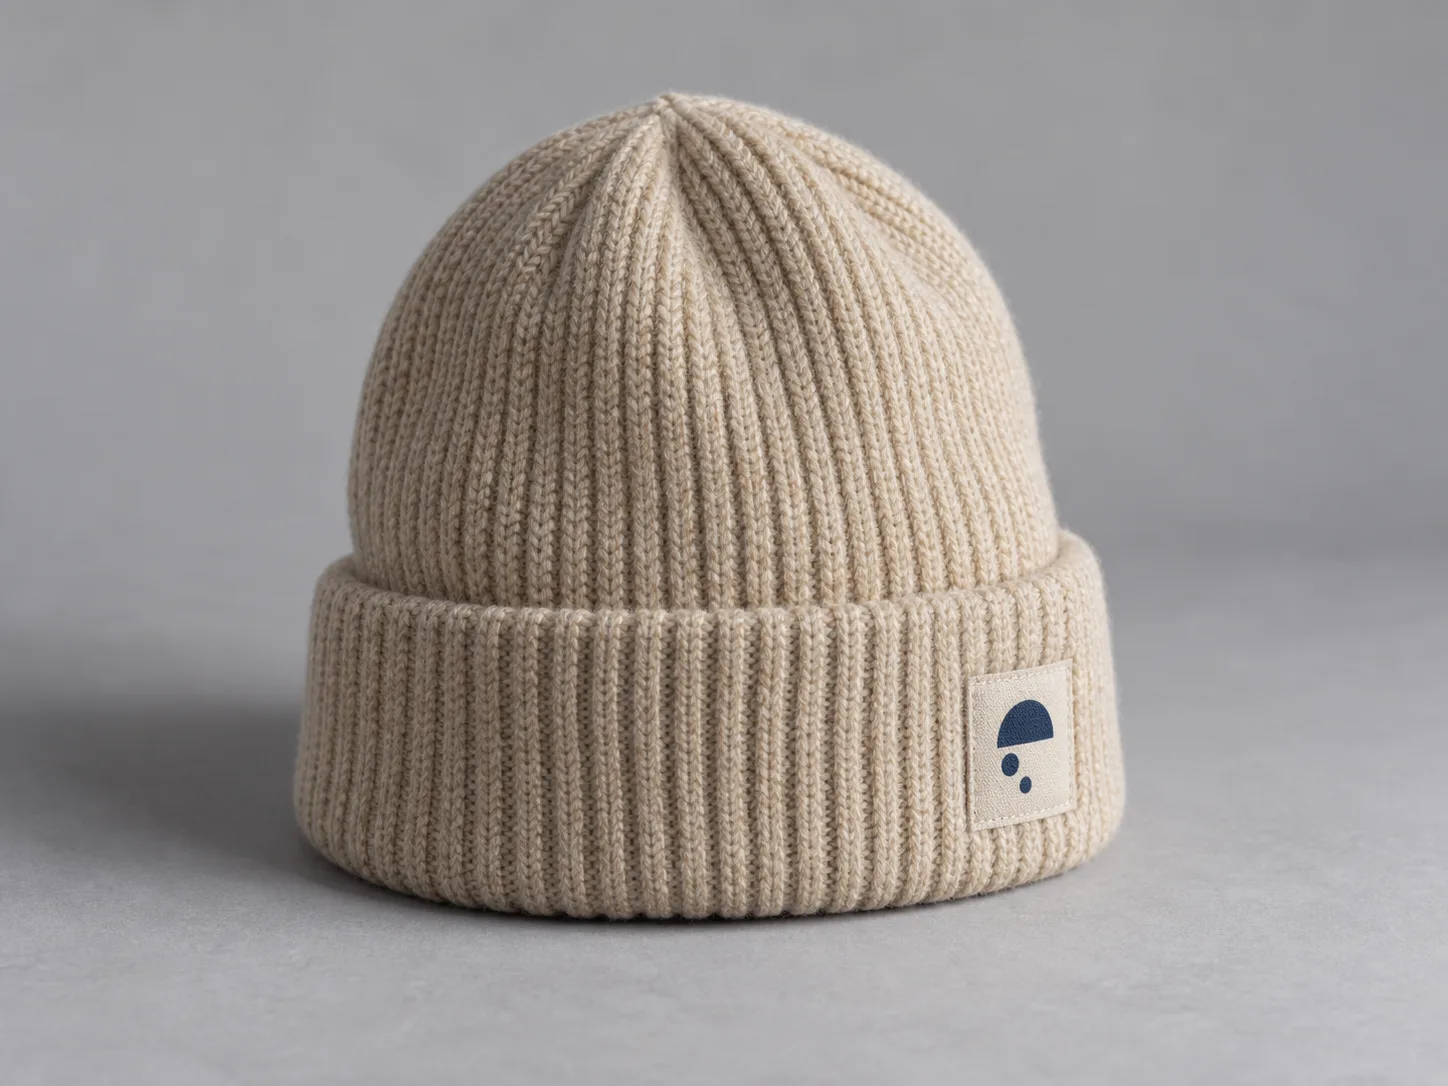
Beanie cuff depth is easier to approve when the buyer and supplier name the same edges, fold and measuring state. “Make the cuff deeper” leaves several questions open: which part is being measured, how many turns are intended, and whether the comparison is flat or worn. Put those answers in the sample brief before asking for a change.
The image above is a generated beanie concept already used on our website. It illustrates a visible folded band, not a real sample or a measurement reference. For your project, check the actual beanie against the current brief and record the cuff geometry separately from material, color, fit and decoration decisions.
Identify the sample and the intended fold
Start with a sample ID, brief version and a named front. Ask the supplier to identify the same beanie in every review view. If there is no obvious front, agree on a removable marker or a diagram reference rather than letting each reviewer choose a different orientation.
Then state whether your design is cuffed or uncuffed. For a cuffed direction, describe the intended turn or turns and ask the supplier to confirm the arrangement on the physical sample. An outside photograph alone may leave the number of layers or the original opening edge hidden. Do not treat two unrelated beanies as a before-and-after folding sequence.
The custom beanie options introduce cuff and knit appearance directions. Keep the actual fold instruction, views and measurement definitions in a versioned first-sample tech pack. A picture can communicate the shape you want; the brief tells the reviewer exactly what to check.
Separate cuff depth from total height
Define each dimension by its edges and path. Visible cuff depth, fold position and total beanie height answer different questions. Agree on their definitions with the supplier before comparing values. If you already have a target, add its units and source; if you do not, request the current sample measurement first.
| Check | Reference to agree | What to record |
|---|---|---|
| Visible cuff depth | Agreed lower and upper boundaries of the visible folded band, at a named front, side or rear location | Folded state, measuring path, units and sample value |
| Fold position | Mark the intended fold line or lines on the unfolded sample or drawing; agree how each is located from the original opening edge | Original edge, marked line and the agreed distance or reference |
| Overall folded height | Lowest folded edge to the agreed crown-top endpoint along the agreed center path in the agreed sample position | Fold arrangement and measuring state alongside the value |
| Overall unfolded height | Original opening edge to the agreed crown-top endpoint, with the cuff opened as agreed | Unfolded state and the same named path where applicable |
Identify on the physical sample whether each visible cuff boundary is a fold, the original opening edge or another construction edge. Do not assume a hidden opening edge is the visible upper boundary. Locate each fold line separately when multiple turns are proposed.
These are suggested definitions for a project discussion, not a standard sizing method. If the supplier uses a different convention, clarify it and put one agreed method in the brief. A front cuff depth does not describe the entire band unless the other locations have also been checked.
Do not calculate an unfolded height or hidden fold allowance from a single visible cuff measurement. The turn arrangement and reference edges must be established on the actual sample. Total height also does not establish circumference or worn fit; those need their own references and checks.
Compare the same measuring state
A flat, relaxed measurement and a worn view are separate records. Choose the state for each check and write it next to the value. For a flat check, agree on the surface, front orientation, how the sample is laid out and how the fabric is smoothed without intentionally stretching it. If the shape cannot be laid consistently, ask the supplier to explain the method and show the measuring path.
Avoid comparing a buyer’s flat sample with a supplier’s beanie on a head or form as though they were measured in the same condition. A worn view may help discuss the intended appearance, but it needs a named setup and cannot replace the agreed flat measurement. Photographs do not establish fiber content, warmth or stretch performance.
When the parties agree a target or tolerance, put the value, units, method and decision owner in the brief. Leave an unagreed value open. This guide supplies no default cuff dimension or universal fit recommendation.
Request views that resolve the fold question
Ask for evidence of the same sample in its identified state. A useful review request can include:
- A straight front view showing both agreed visible cuff boundaries, with the front identified.
- Side and rear views that show whether the agreed cuff line continues as intended.
- An unfolded view that identifies the original opening edge and the proposed fold line.
- A measurement view with the scale aligned to the agreed path, showing both endpoints.
- A worn or supported view only when that appearance is part of the review, with the setup identified.
Request the views needed for your design rather than collecting pictures without a question. If the cuff is meant to vary around the hat, name the locations and intended relationship instead of calling any difference a defect. If a view hides a required endpoint, keep that check open and ask for clearer evidence.
A 3D hat concept can help discuss the visual direction. It does not provide the sample’s fold allowance, dimensions or approval. The customization overview is the next step for discussing your design and what evidence is needed.
Close each cuff decision against the current brief
Record what passed, what should change and what remains open. Keep the cuff measurements and matching views with the sample ID and brief version. If you request a different fold position, ask for a revised folded view and the affected measurements; do not assume the previous total-height check still describes the changed sample.
| Review item | Decision to record | Evidence needed to close it |
|---|---|---|
| Fold arrangement | Accepted, change requested or open | Confirmed turn arrangement and identified sample views |
| Cuff depth at named locations | Accepted against an agreed target, change requested or awaiting measurement | Value, units, endpoints and measuring state |
| Folded and unfolded height | Checked separately or left open | Each state’s identified edges and measuring path |
| Next revision | Current decision owner and requested change | Revised sample ID, brief version and matching evidence |
Here is an example request, not a real order or a preset specification:
Please review sample B, revision 2, with the front marked. Confirm the turn arrangement and show the visible cuff depth at the front and rear using our agreed relaxed-flat method. Include the unfolded opening edge and marked fold line. Keep the depth decision open until we agree the target and review the measurements. If the fold changes, recheck the overall folded height on the revised sample.
Once the geometry is settled, carry that fold arrangement into later artwork and attachment discussions. Approving the cuff does not approve those separate details.
To start a project, send Alex your beanie brief with the design direction, estimated quantity, current references and open cuff questions. The project brief checklist helps organize the first message. Keep unknown measurements open so the discussion can produce a clear physical-sample review instead of a guess from a picture.