CUSTOM HEADWEAR / BUYER GUIDE
Custom Bucket Hat Brim: What to Specify for a Sample
Prepare a bucket hat sample brief: mark brim width at the front, sides and back, describe slope, edge finish and stitching, then check the physical sample.
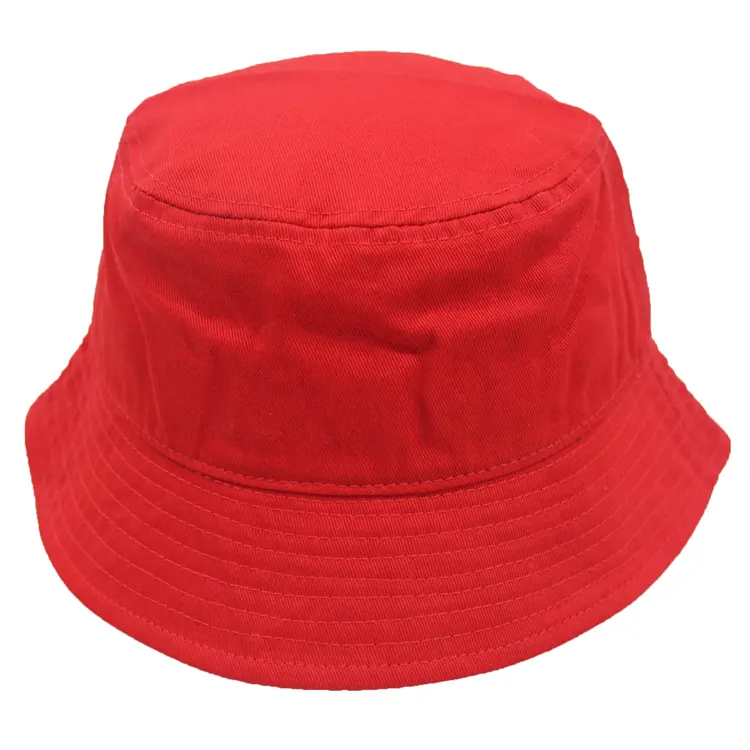
A bucket hat brim runs around the crown. “Make the brim wider” is therefore an incomplete sample instruction: wider at the front, at the sides, at the back, or everywhere? Mark the intended front and agree the measuring points before asking a sample team to change the brim. A marked reference and a physical sample can turn a shape preference into a checkable brief.
This guide is about the bucket hat’s continuous brim. If you are comparing a cap’s separate curved or flat visor, use the cap brim guide instead. The photographs here show visible shape and stitching; they do not supply dimensions, material specifications or proof of sun protection.
Identify the front before measuring the brim
An undecorated bucket hat may have no obvious front in a photograph. Choose one reference view, mark front, left, right and back, and use those labels on every later photograph or diagram. If a logo, patch or label will establish the front, include its intended position and artwork version in the same brief. The bucket hat shape options provide a starting point for discussing the crown and all-around brim.
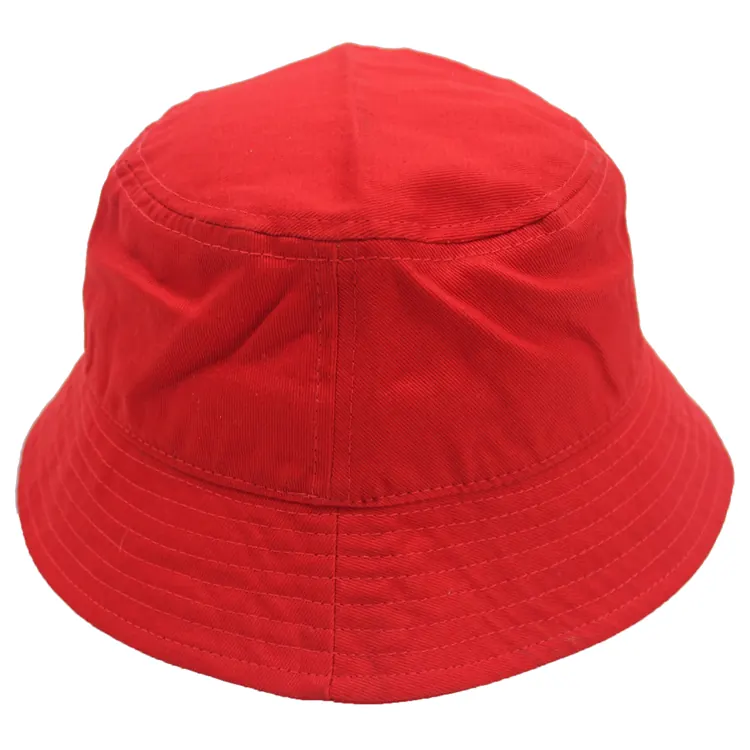
Keep the reference cap and its orientation consistent. Mixing a front image of one sample with the side view of another can make a brim look uneven when the two designs simply differ. Ask the supplier to identify the sample revision in the photographs and to show the same hat from the front, both sides and back.
State width and downward shape at named positions
On the physical sample, agree where the measurement starts at the crown-to-brim join and where it ends at the outer edge. Use the same start and end points when checking the front, left, right and back. Do not assume “all-around brim” means equal width at every point. If you want a particular difference, write it down and mark it on the reference.
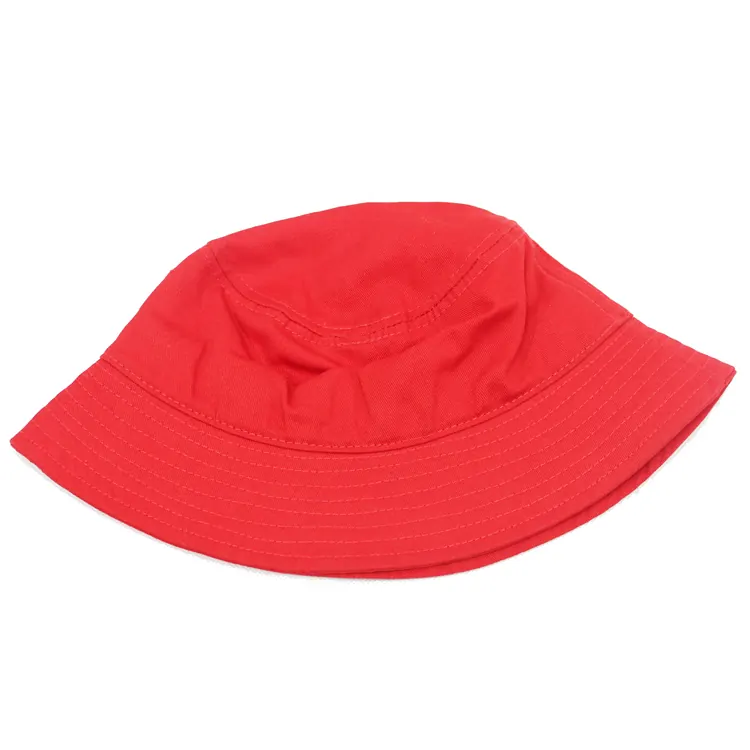
Photographs are useful for comparing the visible downward angle and the shape of the outer edge. Ask for like-for-like front, side and back views with the hat placed the same way. Camera height, a display stand and folds can change the apparent slope, so approve the measurements and shape on a physical sample rather than estimating them from pixels.
| Marked position | Write in the brief | Check on the sample |
|---|---|---|
| Front | Desired edge shape and agreed width reference points | Width and downward profile from the identified front |
| Left and right | Whether the two sides should follow the same outline | Both side profiles and their measured points |
| Back | Intended width and edge direction | Back view and physical measurement |
Describe the edge and stitch lines as separate details
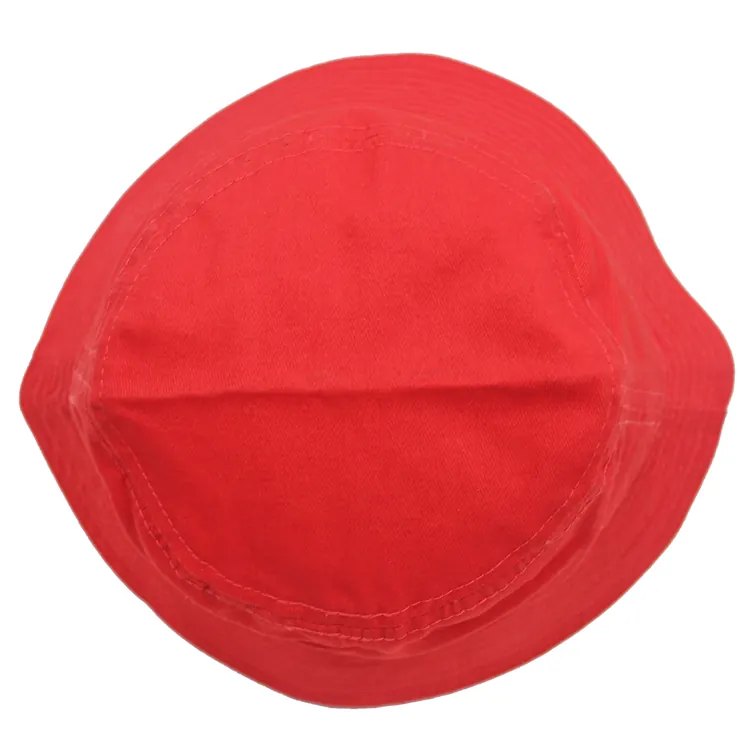
An outer brim can show rows of stitching, an edge seam, binding or another visible finish. Describe what you want, using a close image or a marked drawing. Count only stitch rows you can actually see in the chosen reference; do not infer hidden construction from the exterior. If thread contrast matters, state the desired color relationship separately from the fabric color.
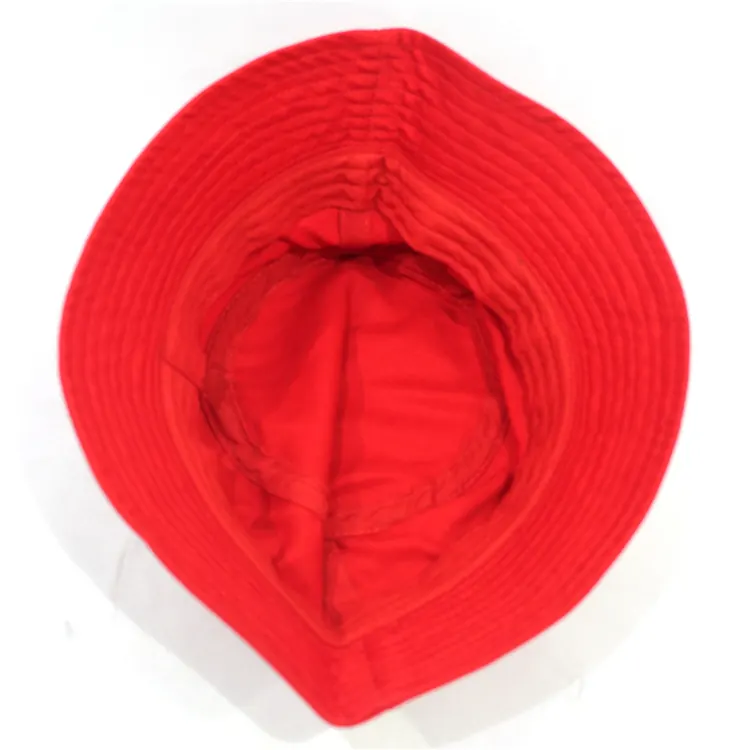
The shape, edge and stitch lines should be reviewed together on a sample. A change to one can alter the look of the others. Record the exact point you want changed, then compare the revised sample with the approved reference. A photograph cannot establish how stiff the brim feels, how it holds shape after wear, or how the edge will perform over time.
If your design includes crown artwork, put the proposed size and placement on the marked front view. The logo and OEM customization options help you discuss method and artwork; the finished position still needs a sample check. The 3D Design Studio can communicate an early color and logo concept, but it is not a measured brim specification.
Send one sample brief with the open questions
A useful request could say: “The arrow in reference A marks the front. Please measure the brim from the crown join to the outer edge at the four marked positions. We want to review its downward shape in front, side and back views. Please confirm the visible edge finish and stitch-row appearance on a physical sample. Our artwork and intended crown position are attached.” Replace those preferences with the actual design decisions for your order.
Keep three lists in the reply: approved details, requested changes and still open. Name the sample revision alongside its photos and measurements. If the first sample differs from the brief, point to the marked position rather than sending only “brim wrong.”
Ready to discuss a bucket hat project? Send Rongtai your design or reference images with the intended quantity, destination and the sample questions that remain. Alex can help clarify which details to confirm before production terms are agreed.